Guides / Choosing a Supplier
PSA Veneer Sheets: When Peel-and-Stick Backing Works and When It Fails
October 27, 2026
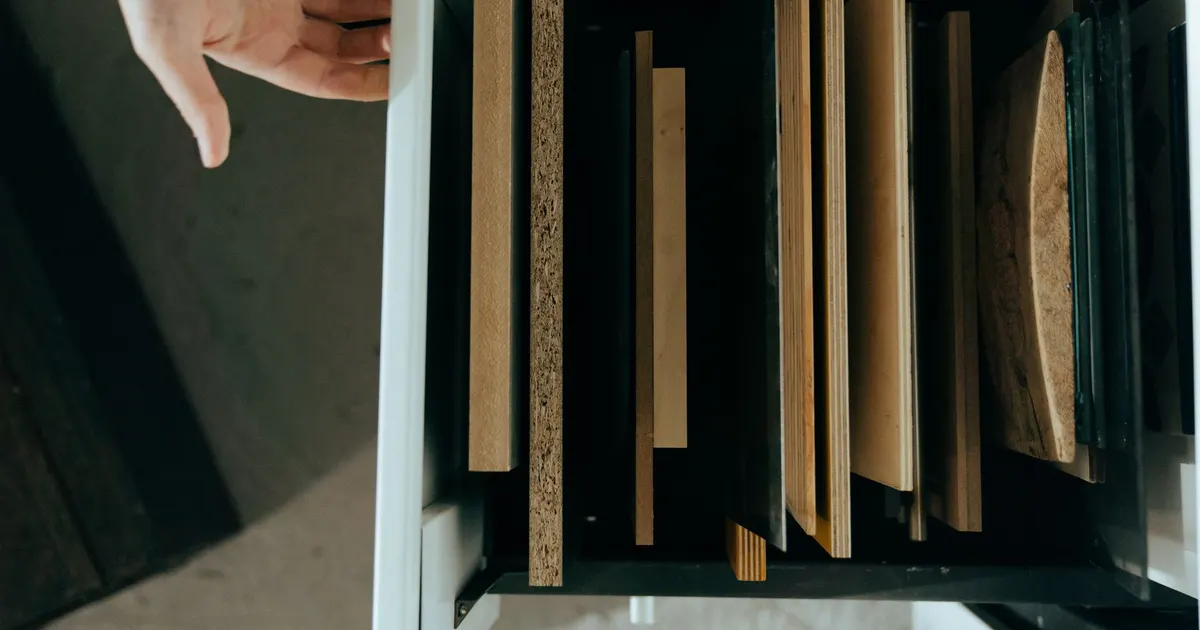
Not every veneer job has a press. A retail fitout team refreshing fixtures overnight, a sign shop wrapping panels, a designer making a sample board or a cabinet shop doing a repair does not want to mix glue and wait for a cure. PSA veneer sheets exist for these jobs. They are real wood veneer on a backing that already carries a layer of pressure-sensitive adhesive, covered by a release liner. You peel the liner, press the sheet down and move on.
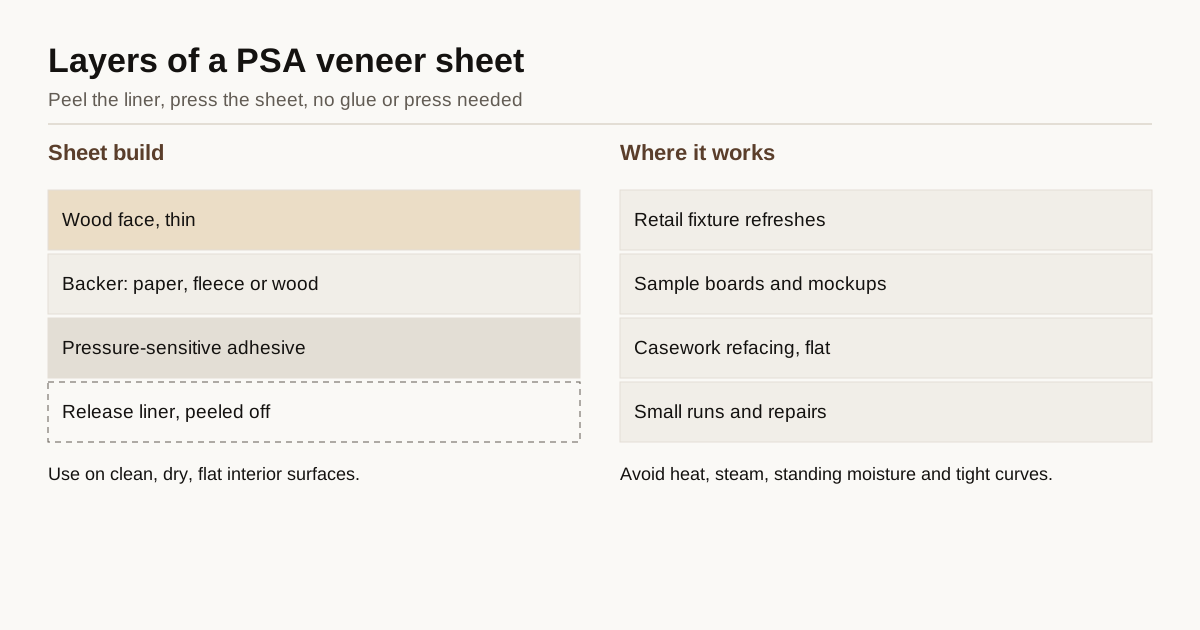
That convenience comes with limits. This guide explains how PSA sheets are built, where they work well, where they fail and what to put on an order so the product matches the application.
How PSA sheets are built
A PSA veneer sheet is a stack of layers. The top is a thin wood face, commonly in the range of 0.3 to 0.6 mm for a paper-backed construction, though makers differ. Under the face sits a backer, which is often paper or a thin wood or fleece layer that supports the face and keeps it from splitting. Under the backer is the adhesive layer, and over that a release liner of silicone-coated paper or film.
The backer matters for how the sheet behaves. A paper backer makes the sheet flexible and good for wrapping gentle curves. A wood backer, as in a two-ply sheet, makes it stiffer and more stable across the width. The adhesive differs between makers, with some tuned for bond strength and others for a short repositioning window. The data sheet from the maker lists the substrates and temperature ranges the adhesive is rated for.
Sheet sizes vary. Standard panel sizes such as 4 by 8 feet are common for wood-backed PSA, while paper-backed PSA is often sold in rolls or in sheets of various sizes. Confirm the size and the grain direction before ordering, because a sheet cut cross-grain to a roll direction behaves differently.
Where PSA sheets work well
PSA suits jobs where speed, cleanliness and low setup cost outweigh the need for a structural bond. Typical uses include:
- Retail fixtures and displays that are refreshed often and are used in dry interior spaces.
- Casework refacing over flat, clean surfaces such as laminate, MDF or painted panels.
- Sample boards and mockups where a real veneer look is needed without a pressing cycle.
- Small runs and repairs where setting up a press is not worth the time.
- Furniture interiors and drawer fronts on flat, rigid backs.
For these, PSA saves labor and avoids moisture from wet glue. The sheet can be cut with a knife or a cutter, applied to the surface and rolled with a hand roller, and finished with a clear coat if the maker’s data allows.
The guide to veneer for retail fixtures and store millwork covers how rollouts use PSA for refreshes and standard backed sheets for new builds.
Where PSA sheets fail
The same convenience makes PSA unsuited to some conditions.
Heat and steam. Pressure-sensitive adhesives soften with heat. Surfaces near ovens, radiators, heaters or in direct sun can see the bond creep or lift. Steam in bathrooms and kitchens attacks the adhesive and the edges.
Moisture. Standing water, humid rooms and condensation weaken the bond, and veneer swells at the edges. Use PSA only on dry, interior surfaces unless the maker rates it otherwise.
Tension and curves. A paper-backed PSA sheet will flex around a gentle curve, but a tight curve can pull the face apart or lift the sheet over time. Compound curves are better served by a pressed or formed process, as covered in the guide on curved and bent laminated parts.
Rough or porous surfaces. PSA bonds to what is under it. Dust, oil, wax and loose paint reduce bond strength, and a rough surface leaves gaps that show as bubbles or telegraph through the face.
High-wear edges. Edges and corners carry the stress of use. An edge that is knocked often can lift unless it is wrapped, sealed or trimmed with an edge band.
Comparison with other forms
| Factor | PSA-backed sheet | Paper-backed, glued | Raw leaf, glued |
|---|---|---|---|
| Glue and press needed | None | Yes | Yes |
| Setup time | Minutes | Hours | Hours |
| Repositioning | Little or none | Brief open time | Brief open time |
| Heat and moisture resistance | Lower | Depends on glue | Depends on glue |
| Curve tolerance | Gentle curves | Gentle to moderate | Along the grain only |
| Best for | Refreshes, samples, small runs | Production panels | Premium work, spliced faces |
These are general tendencies. Use the maker’s data for the product you buy.
Preparing the surface
Surface preparation decides whether PSA holds. The steps are the same for most products:
- Clean the surface of dust, oil, wax and loose paint. Use the cleaner the maker recommends.
- Make sure it is dry, flat and rigid. Fill holes and sand ridges, since the face will copy them.
- Seal porous surfaces such as raw MDF edges or particleboard with a primer if the maker advises it.
- Condition the sheet and the surface at room temperature, because cold slows bonding.
- Cut the sheet to size with a small margin and trim after application.
Test on a scrap piece of the same substrate before the full job. Bond strength builds over hours as the adhesive flows into the surface, and some makers recommend waiting 24 hours before finishing or heavy use.
Applying the sheet
Application is simple but unforgiving. Peel the release liner back a short way and lay the exposed adhesive on one edge, aligned to the surface. Work across the sheet, peeling the liner as you go and pressing with a hand roller or a squeegee to push air out. Roll with firm pressure from the center to the edges. Avoid pulling the sheet taut over the surface, because stretched veneer relaxes and lifts later.
For large panels, two people help. One holds the sheet off the surface while the other peels and presses. For long runs, a laminating roller or a small press helps with bond consistency.
If a bubble forms, prick it with a fine needle at the edge and press the air out. Do not leave bubbles to settle, because they rarely lie down on their own.
Finishing PSA veneer
Many PSA sheets can take a clear finish, but the thin face limits sanding. Check the maker’s guidance before sanding at all, and use fine abrasives with a light touch. The guide to sand-through risk and face thickness explains why thin faces leave little margin. Water-based finishes can swell a thin face, so test a sample.
Some makers sell pre-finished PSA sheets that skip sanding and finishing and can be cut and applied. Those are useful for fixtures that need a quick result.
Storage, shelf life and waste
PSA sheets are best stored flat or on a roll as the maker packs them, in a cool dry room, with the liner on until use. Heat can make the adhesive flow, and cold can make it stiff and slow to bond. Adhesives age, so check any shelf-life guidance from the maker and use older stock first.
Waste is usually lower than with raw leaves, because the sheet is cut to size and there is no glue to wipe. Plan for trimming margins and for a few spare sheets, since a misapplied sheet cannot be reused and a repair years later needs a close color match from the same lot.
What to order
A PSA order should carry the details that affect performance:
- Species and cut, and the face thickness if the maker offers a choice.
- Backing: paper, wood or fleece, plus the adhesive type.
- Sheet size and grain direction.
- Substrate: laminate, MDF, painted board or metal.
- Environment: temperature range, humidity and sun exposure.
- Finish: raw, finished on site or pre-finished.
- Quantity with waste, plus extra for repairs.
Ask for a sample and apply it to a scrap of the real substrate, then leave it for a few days in the real conditions. The guide on what to check in a veneer sample lists other points to look at.
Checklist
- Confirm the surface is dry, flat, clean and interior.
- Check the maker’s rated temperature and moisture range.
- Test a scrap before the full application.
- Roll from the center out with firm pressure.
- Protect edges with trim or an edge band.
- Keep spare sheets from the same lot for repairs.
For PSA-backed sheets quoted by species, backing and size, send the details on the RFQ page. The request goes to up to three suppliers that stock that species in that form, with a reply within 24 business hours.
Frequently asked questions
What does PSA mean on a veneer sheet?
PSA stands for pressure-sensitive adhesive. The sheet carries a layer of adhesive on its back, covered by a release liner. You peel the liner and press the sheet onto the surface, and no wet glue or press is needed.
Can PSA veneer be repositioned after it touches the surface?
Usually not. Most PSA sheets grab quickly and hold, so lay the sheet in place carefully, starting from one edge. Some products allow a brief adjustment window, but check the maker's data and test on a scrap before a full application.
Is PSA veneer suitable for bathrooms or outdoor use?
Generally no. Heat, steam and standing moisture weaken pressure-sensitive adhesives, and edges can lift. Use PSA sheets on dry, interior, flat surfaces and ask the maker for the rated conditions before specifying one for anything damper.
Know what you need? Send the spec.
Tell us the species, cut, form and square footage. We pass it to up to 3 veneer suppliers that stock it and reply within 24 business hours.
Send my veneer RFQ